PHASE 1: How to prepare your CPF in order to pull the benchmark values
This phase requires 2 people
Everything you need in this phase:
- An elastic training band – 25 kg
- A digital or analogic dynamometer
- A rope or a steel carabiner
- A yardstick
- 2 mt square aluminum tubing
- A permanent marker
With the dynamometer we’ll measure the force required to stretch the elastic band, then we’ll mark the measured values on a fixed facility (our aluminum tubing) which we’ll put at the bottom of the pool when we’ll proceed with the test of the fins. In this way we avoid putting the dynamometer in the water and keeping our buddy busy to watch the display of the device during your test.
Phase 1
- Connect one side of the elastic band (with the rope or the carabiner) to a fixed and solide structure and the other to dynamometer
- Lay out the system in order to stretch the elastic band, paying attention to not read changes in weight/thrust displayed on the dynamometer (we must read 0 kg on the device)
- Your buddy will measure the lenght of the stretched elastic band, as described in point 2
- Mark the measure of the extended system with a 0 (0 system)

- Take the dynamometer and start stretching the elastic band on the opposite side of the fixed structure, keeping stretching until you will read 15 kg on the display
- Your buddy will measure the lenght of the stretched elastic band, as described in point 5
- Mark the measure of the extended system with 1 (5kg/thrust)

- Repeat the same operation for 10kg, 12,5kg, 15kg, 17,5kg e 20kg
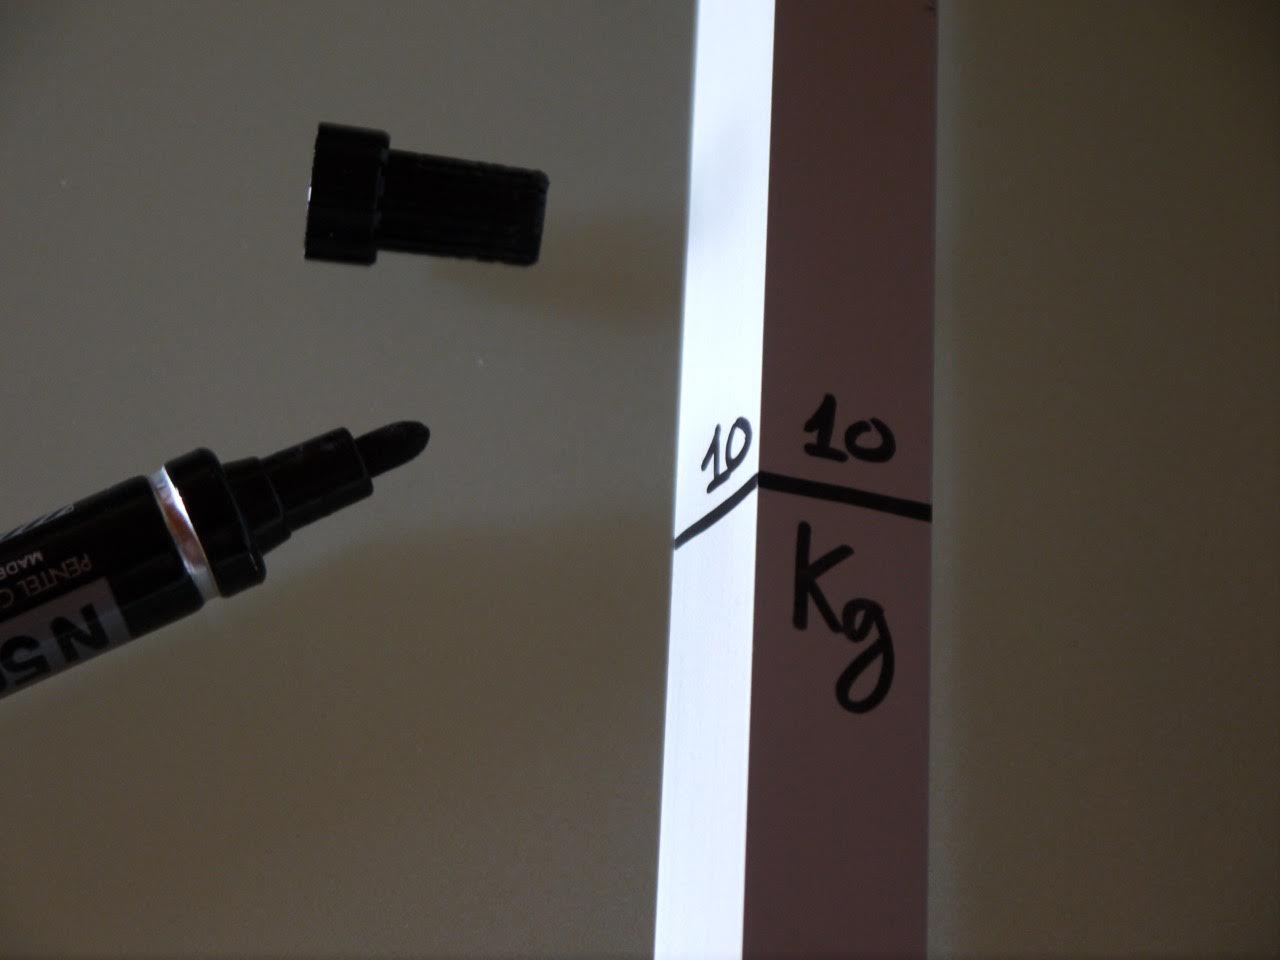 Once you will have the six values, mark with a permanent marker the aluminium tubing, as follows: 5kg=1, 10kg=2, 12,5kg=3, 15kg=4, 17,5kg=5, 20kg=6. So you will be able to clearly see the marks during your test.
Now we have our reference system, which will allow us to measure the actual power output coming from our fin stroke.
Phase 2: How to build CPF for the fins test in the pool
Everything you need in this phase
- All the materials indicated in the phase 1 +:
- 8meters of rope with a diameter of 6/8 mm
- A broomstick with through-hole on one side
- A 1/2″ female Tee iron fitting gas
- A weights-belt in cordura
- Weights of 1 Kg for the belt
- Suction cups for glass 8 (optional)
Phase 2
- Fold a half the 8mt rope
- In the middle of the folded rope make a eye
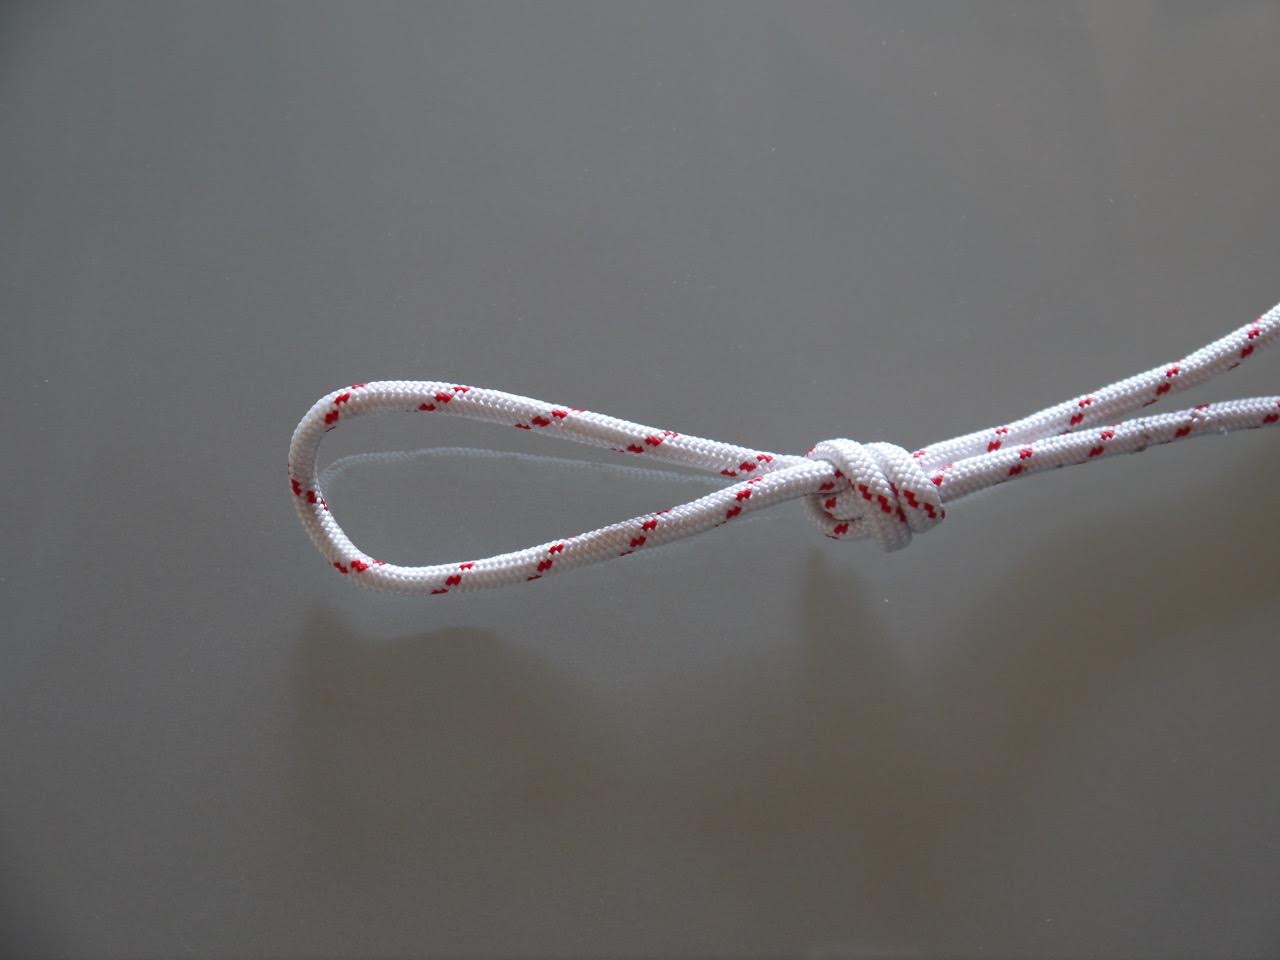
- Pass the end of the folded elastic band through the eye and the other end of the band trough the first one. Tighten pulling in the two directions
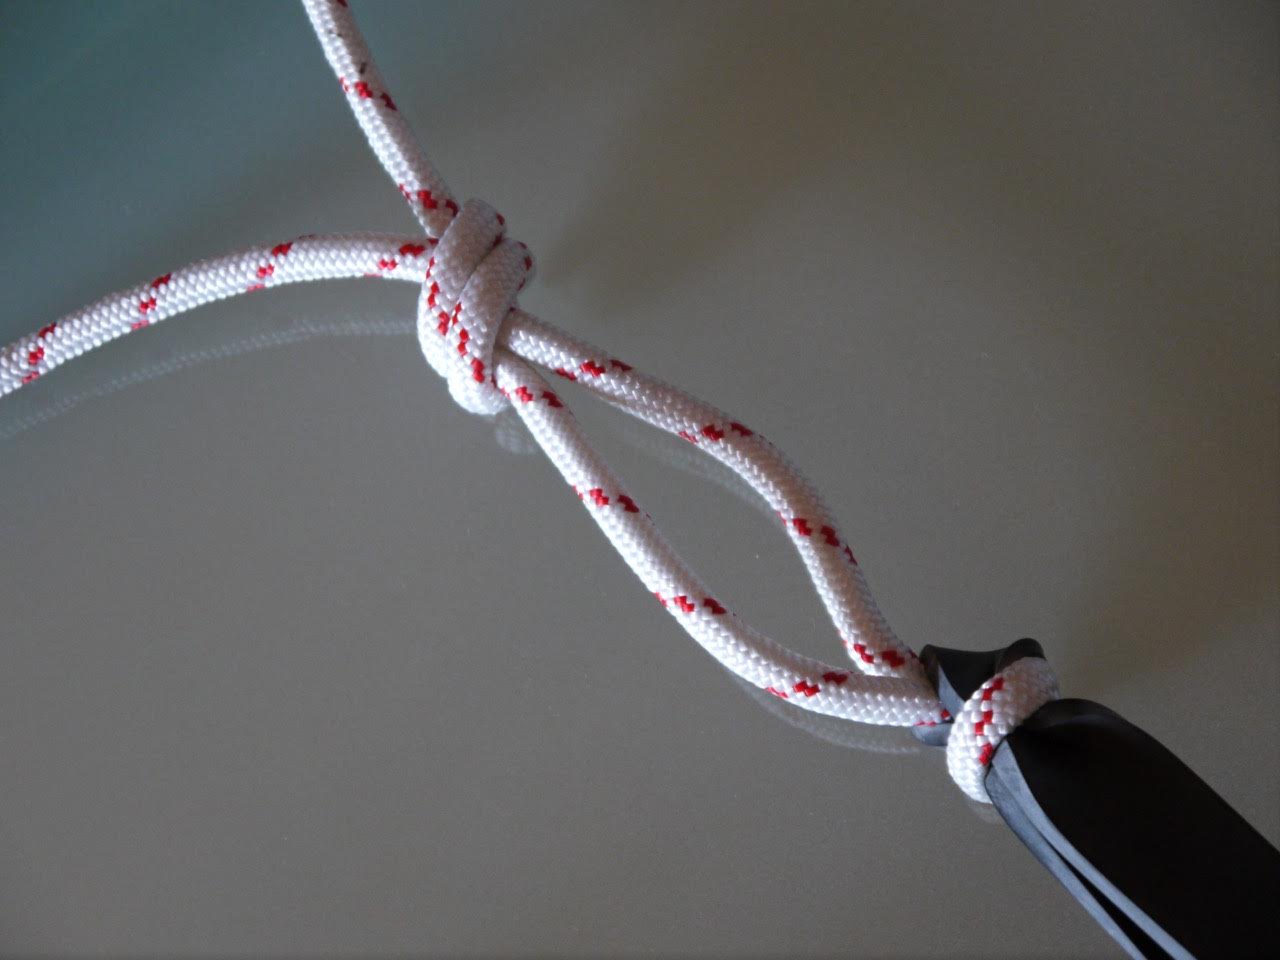
- Bring the broomstick and screw the Tee iron on the threaded part
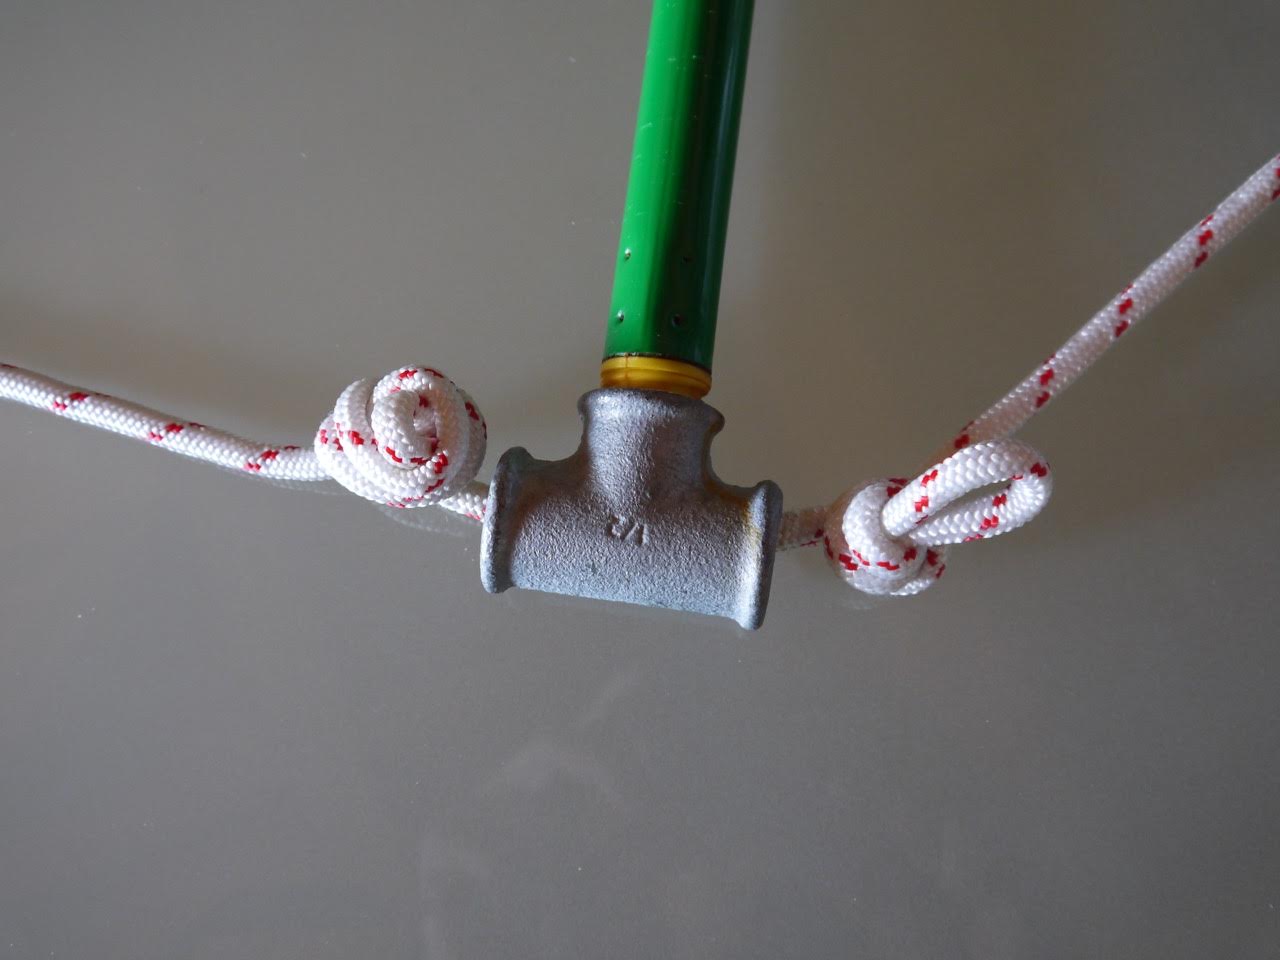
- Bring the two free end of the rope and pass one through the Tee brass and one through the hole.
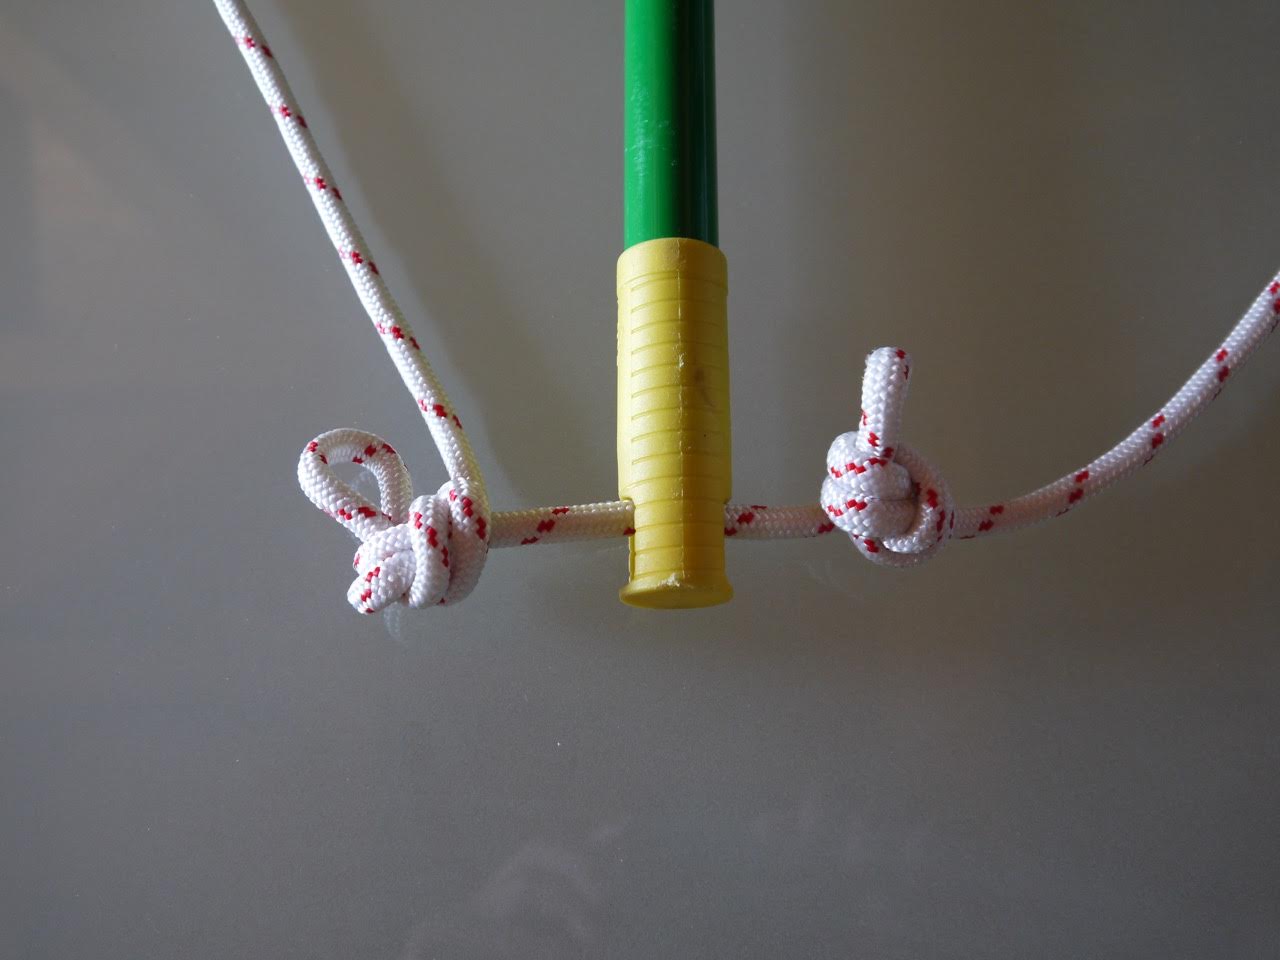 This operation will allow us to make a spacer that will allow us to swim with fins. So the fins won’t crash against the rope
 -
Tie two knots around the rope so the spacer won’t come loose
-
Insert the the belt in the weights, positioning the weights so that, once you will put on the belt, they will be one on your left side and the other on the right
-
Come loose the belt on the weight and fasten the free ends of the rope with a bowline knot (or with a eye
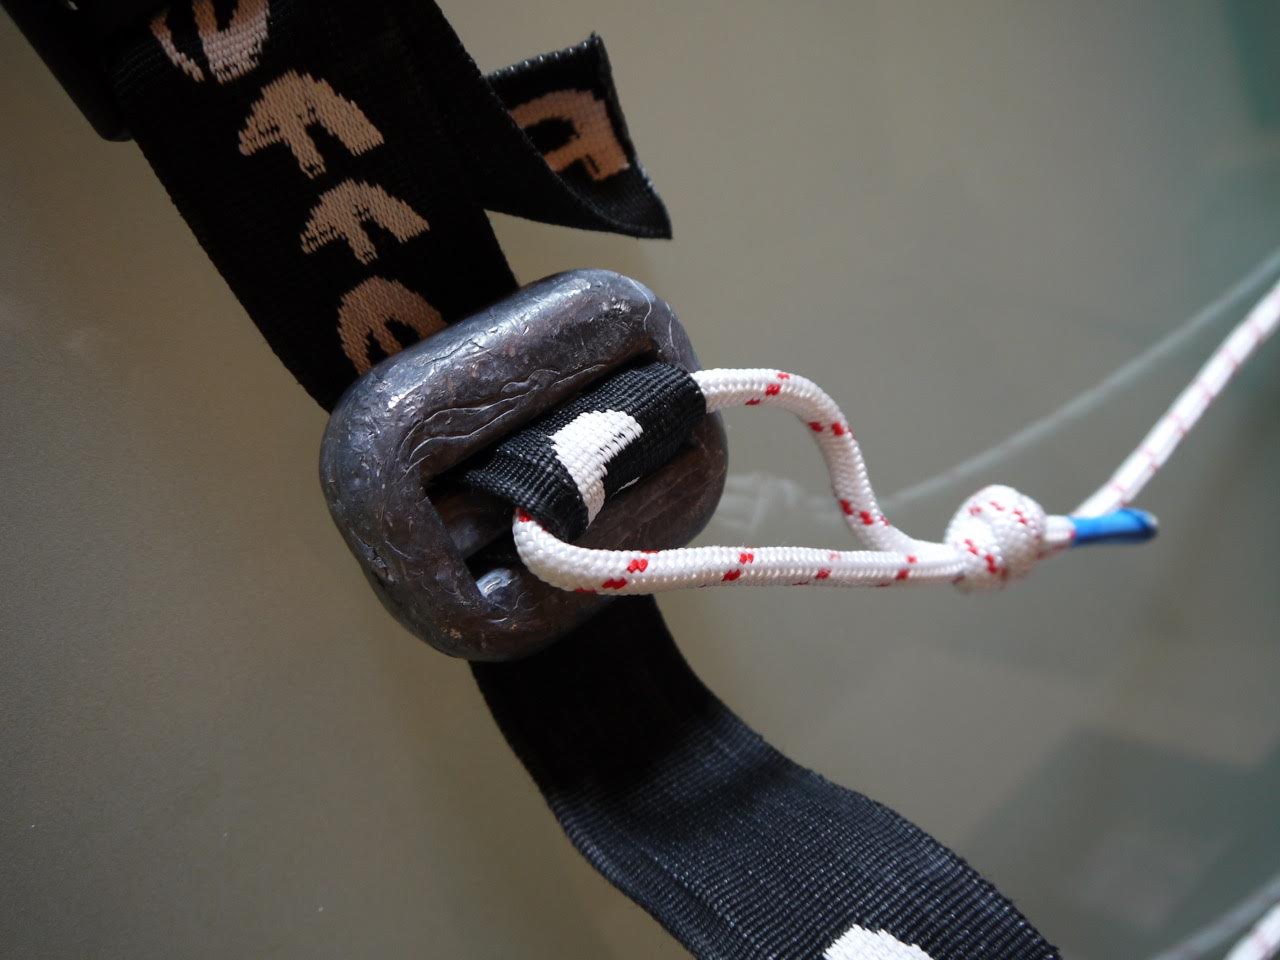
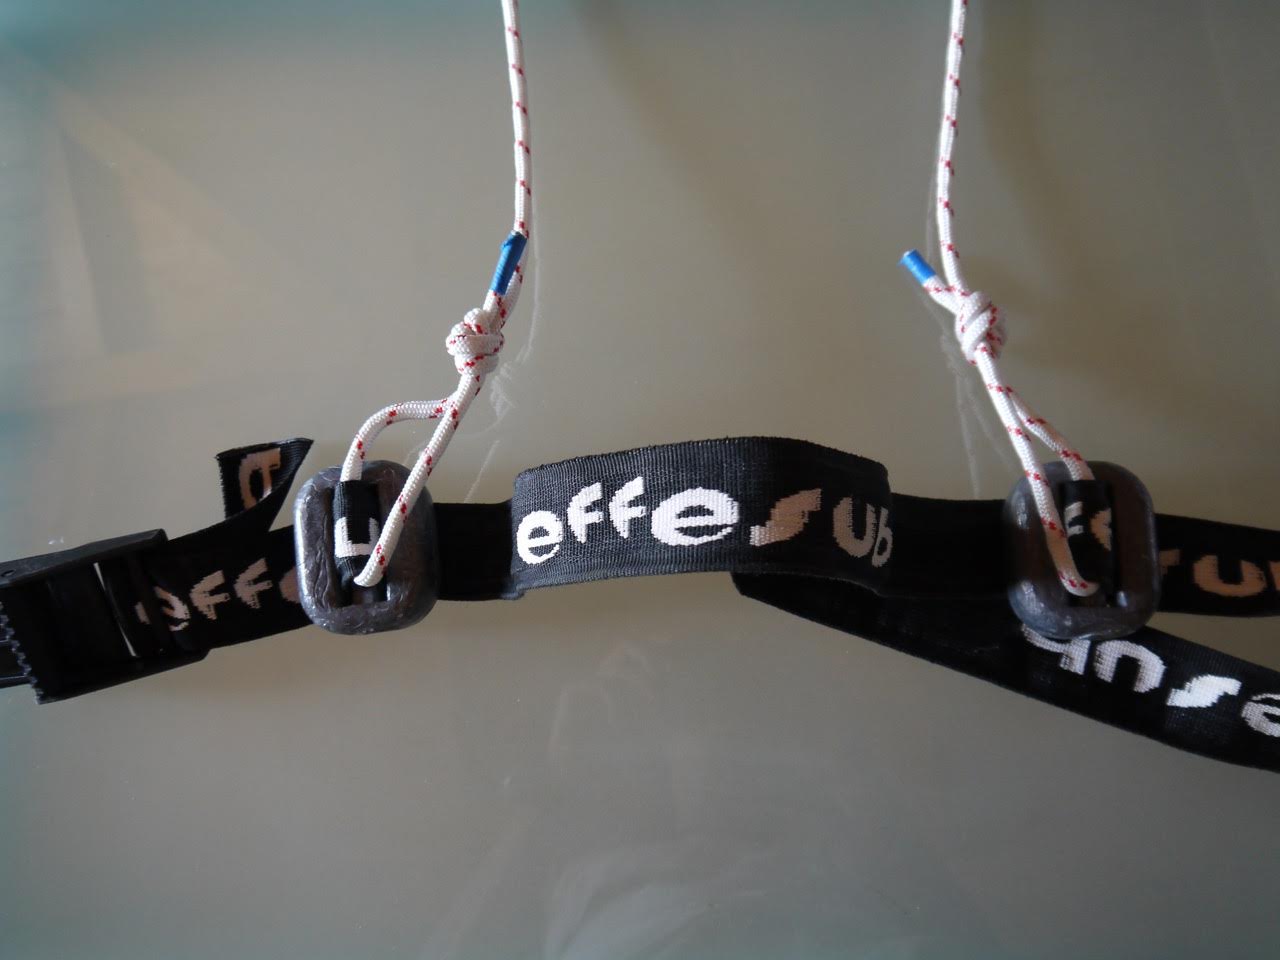
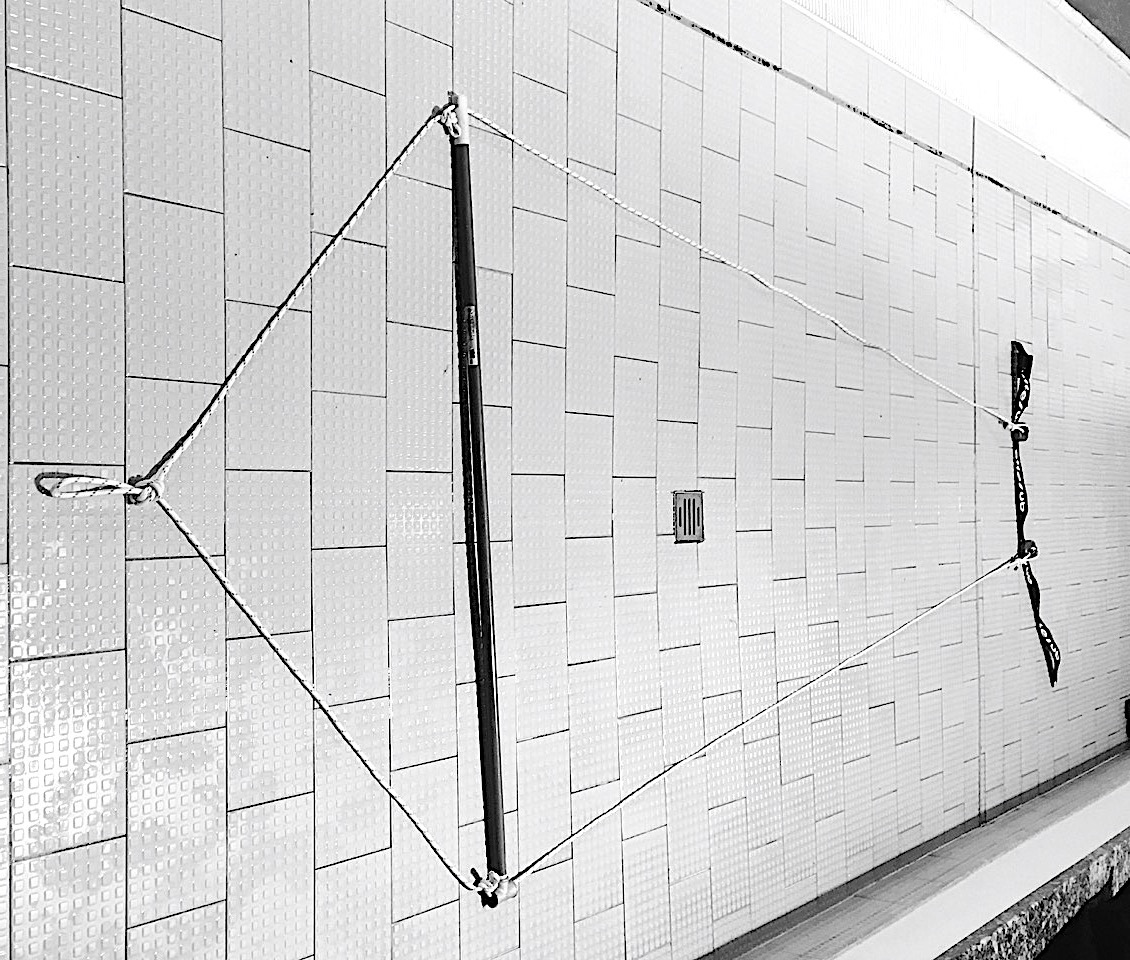
Bring the system in the water. Fix an end of the elastic band to a solide structure that you can find on the pool-side, e.g. in one of the three modes here described:
- With a rope and two suction cups (only in case of smooth tiles), fix the cups on the wall at a suitable height (1 mt up from the bottom) and verify the grip. Then tie free end of the rope around the cup and the other to the elastic band
- Through the carabiner, connect directly elastic band to the tightener hook of the pool lane ( easy to find solution but not the best because the rope won’t work parallel to the bottom of the pool)
- Tie the elastic band araund a rope and connect it to a solide structure: acqua fitness platform, diving board, flag-pole…)
Phase 3: How to test your fins
- Put on your weights-belt
- Start finning on the surface mildly in order to lay out the CPF system
- Align your zero system, marked on the aluminium tubing, perpendicularly to your eyes and…there you have it!
Your Custom Power Fins system now is ready! It’s not actually a work of real engineering,, but with a few readily available items, you will be able to experience a new way to test the fins. Above all it is always a good manner to make some trainings with our legs! 😉